Every floor in your home has a different personality. The oak boards in the hallway, the ceramic tile in the bathroom, the luxury vinyl in the kitchen, and the wool rug in the living room all respond differently to water, heat, and chemicals. Using one cleaning routine for all of them is the fastest way to dull a finish, loosen a grout line, or void a manufacturer’s warranty.
This guide breaks down how to clean the most common flooring types, what tools and products suit each one, and which habits cause the most damage. It focuses on routine maintenance and spot cleaning rather than deep restoration, because consistent, gentle care is what keeps floors looking good for years.
Start With the Right Habits for Any Floor
Before getting specific, a few universal rules apply to almost every hard surface and textile floor.
- Remove dry soil first. Dirt and grit act like sandpaper underfoot. Sweep, dust-mop, or vacuum before you introduce any moisture.
- Test in a hidden spot. Try any new product on a small area in a closet or corner, especially on stone, sealed wood, and dark grout.
- Use the least water possible. Excess moisture is the common thread in most flooring damage, from warped planks to stained grout.
- Match the tool to the finish. Abrasive pads and stiff brushes are for grout and concrete, not for polished stone or factory-finished wood.
- Follow the manufacturer’s guidance. If you have warranty paperwork, it usually names approved cleaners and warns against steam or wet mopping on certain products.
Hardwood Flooring
Solid and engineered hardwood are beautiful but sensitive to standing water, humidity swings, and gritty abrasives. The finish, not the wood itself, is usually what you are cleaning, so protect that layer.
Routine cleaning
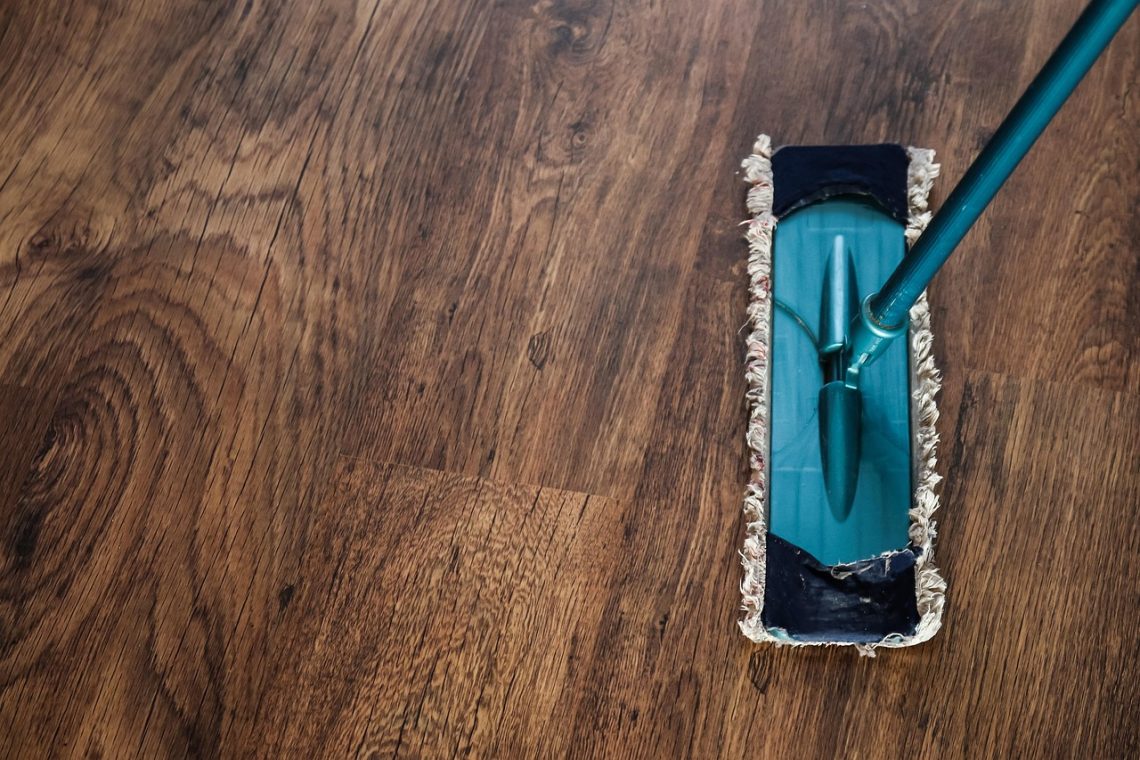
Dust-mop or vacuum with a hard-floor attachment several times a week in high-traffic areas. For a deeper clean, use a damp mop that is wrung out until it is barely moist, and a cleaner formulated for sealed hardwood. Work in small sections and dry any lingering moisture with a microfiber cloth.
Spills and spots
Blot liquids immediately rather than wiping them across the surface. For sticky residue, a slightly damp cloth with a drop of mild dish soap is usually enough; dry afterward. Avoid vinegar, ammonia-heavy cleaners, and oil soaps unless the finish specifically calls for them, since repeated use can dull or build up on modern polyurethane finishes.
What to avoid
- Steam mops, which force moisture into seams and can cloud the finish.
- Wet mopping or leaving puddles, which can cause cupping and gapping.
- Scouring pads, powdered cleansers, and wax on factory-finished floors.
- Furniture dragged without felt pads, which scratches the surface.
Laminate Flooring
Laminate has a printed image under a clear wear layer, with a core that swells if water gets into the seams. It is forgiving to clean but unforgiving to soak.
Vacuum or sweep regularly, then use a damp microfiber mop with a laminate-safe cleaner. A light spritz of water on the mop head is often sufficient for everyday grime. Wipe up spills promptly, and never flood the floor or let liquid sit along the edges where planks meet walls and transitions.
Avoid abrasive scrubbing powders, wax, and steam. For stubborn marks such as scuffs from shoes, a pencil eraser or a dab of rubbing alcohol on a cloth often lifts them without harming the wear layer. Test first on an inconspicuous plank.
Luxury Vinyl Plank and Sheet Vinyl
Vinyl is one of the easiest floors to live with. It resists water well, which makes it a common choice for kitchens, bathrooms, and mudrooms, but the wear layer still benefits from gentle care.
Sweep or vacuum, then damp mop with a pH-neutral cleaner. For greasy kitchen residue, a mild degreaser or a few drops of dish soap in warm water works well; rinse with a clean damp mop afterward to remove film. Avoid abrasive pads, which can scratch the wear layer, and be cautious with steam, since heat and moisture can loosen adhesive on some installations.
On vinyl with a textured or embossed surface, a soft-bristled brush helps lift dirt from the pattern. Rinse and dry so no soapy residue remains to attract new dirt.
Ceramic and Porcelain Tile
Tile itself is tough and largely water-resistant. The vulnerable parts are the grout lines and any sealer on natural stone-look tiles.
Cleaning the tile surface
Sweep or vacuum, then mop with warm water and a neutral tile cleaner. For greasy buildup, a degreasing cleaner helps. Porcelain and ceramic tolerate more moisture than wood, but you still want to avoid leaving pools of water, particularly near baseboards and transitions.
Cleaning grout
Grout is porous and collects dirt. A soft brush or an old toothbrush with a mild alkaline cleaner or a baking-soda paste can lift grime from narrow lines. Work in small sections, scrub along the line rather than across it, and rinse thoroughly. Avoid harsh acid cleaners on colored grout unless the manufacturer approves them, and never mix bleach with ammonia or acidic products.
What to avoid
- Steel wool and metal scrapers, which leave marks.
- Acidic cleaners on marble-look or natural stone tiles.
- Excess water around unsealed grout, which can encourage mold in damp areas.
Natural Stone: Marble, Travertine, Slate, and Granite
Stone is porous and chemically sensitive. Marble and travertine, for example, etch when exposed to acids such as vinegar, lemon juice, and many bathroom cleaners. Granite and slate are more forgiving but still benefit from a pH-neutral approach.
Dust-mop frequently, because grit scratches polished stone. Damp mop with a cleaner made specifically for stone, and dry the surface afterward. Blot spills immediately, especially wine, citrus, and vinegar-based products. Reseal stone floors on the schedule recommended for the material and the sealer used; in busy households this is often every year or two, but the product label and a water-bead test are better guides than a fixed rule.
Never use acidic cleaners, abrasive powders, or steam on natural stone. For etched spots on marble, a professional stone restorer is usually the safest route.
Carpet and Rugs
Carpet cleaning is about soil removal and moisture control. Too much water or detergent leaves residue that attracts dirt and can promote mildew.
Routine care
Vacuum high-traffic areas several times a week and the rest of the carpet weekly. Use a vacuum with a good beater bar on wall-to-wall carpet, and a gentler suction setting on delicate rugs. Rotate area rugs periodically so they wear evenly and fade evenly.
Spills and stains
Blot, don’t rub. Scoop up solids, blot liquids with a clean white cloth, then apply a small amount of carpet cleaner or a mild dish-soap solution and blot again. Rinse with clean water and blot dry. For wool and other natural fibers, use products labeled for wool and test first, since some alkaline cleaners can damage the fiber.
Deep cleaning
Hot-water extraction (steam cleaning) is effective for synthetic carpets when done properly, but over-wetting is a common mistake. Move furniture, ventilate the room, and allow the carpet to dry fully before walking on it. For delicate or valuable rugs, professional cleaning is usually worth the cost.
Quick Comparison by Floor Type
| Floor type | Best routine method | Key risk | Avoid |
|---|---|---|---|
| Hardwood | Dust mop, barely damp mop with wood cleaner | Water damage and finish dulling | Steam, wet mopping, vinegar |
| Laminate | Vacuum, damp microfiber mop | Swollen seams | Flooding, steam, wax |
| Vinyl | Sweep, damp mop with neutral cleaner | Scratches and residue film | Abrasive pads, harsh solvents |
| Ceramic/porcelain tile | Mop tile, brush grout | Dirty or moldy grout | Steel wool, acid on some grouts |
| Natural stone | Dust mop, stone-specific cleaner | Etching and staining | Vinegar, lemon, abrasives |
| Carpet and rugs | Regular vacuuming, blot stains | Over-wetting and residue | Rubbing stains, excess detergent |
Tools Worth Keeping on Hand
A small, well-chosen kit covers most situations without cluttering the closet.
- A microfiber dust mop and a separate damp mop head.
- A vacuum with hard-floor and carpet settings.
- pH-neutral floor cleaner, plus a stone-specific cleaner if you have stone.
- A soft grout brush and a couple of microfiber cloths.
- Felt pads for furniture legs and a doormat at each entrance.
Common Mistakes That Damage Floors
Most flooring problems come from a handful of habits rather than from one dramatic accident.
- Using too much product. More cleaner does not mean cleaner floors; residue attracts dirt and dulls finishes.
- Skipping dry cleaning. Grit ground into a floor scratches it over time.
- Ignoring the entrance. Doormats and a no-shoes habit reduce the dirt that reaches every other room.
- Mixing cleaners. Combining products, especially bleach and ammonia or acids, can create dangerous fumes.
- Treating every floor the same. The single biggest cause of avoidable damage is applying a wood or tile routine to stone, laminate, or carpet.
Building a Simple Cleaning Schedule
Consistency matters more than intensity. A workable rhythm might look like this: sweep or vacuum high-traffic areas every few days, damp mop hard floors weekly or as needed, spot-clean spills immediately, and schedule deeper cleaning for carpet and grout a few times a year. Adjust for pets, kids, and weather, and always err on the side of less moisture and gentler products.
When in doubt, check the manufacturer’s care instructions or consult a flooring professional before trying a new method. A few minutes of preparation protects an investment that is expensive and disruptive to replace.
Illustrative stock photo: jarmoluk / Pixabay.