Freezing is one of the simplest and most effective ways to preserve vegetables at home. Done well, it captures produce at its peak, stretches a garden harvest or a good market deal across the year, and cuts down on food waste. Done poorly, it produces soggy, mushy, or freezer-burned results that nobody wants to eat.
The difference between the two comes down to a handful of techniques: starting with good produce, preparing it properly, blanching most vegetables, removing as much air as possible, and storing everything cold and well sealed. This guide walks through each step, explains why it matters, and offers vegetable-specific guidance so you can freeze with confidence.
Why Freezing Works, and Where It Falls Short
Freezing slows down the enzymes and microorganisms that cause food to spoil. It does not kill them, which is why proper preparation and storage matter. At typical home freezer temperatures of around 0°F (−18°C), vegetables can keep for many months while retaining most of their nutritional value.
The main challenge is texture. Vegetables are largely water, and when that water freezes, it expands into ice crystals that can rupture cell walls. Fast freezing creates smaller crystals and less damage, while slow freezing creates larger ones and mushier results. That is why a freezer set cold, produce spread out rather than piled in a block, and pre-chilled blanching water all help.
Some vegetables freeze beautifully; others never fully recover. Knowing which is which saves disappointment.
Step 1: Start With Good Produce
Freezing cannot improve quality. It preserves what is already there, so choose vegetables that are fresh, firm, and at their best. Slightly overripe or limp produce will taste tired after thawing. Wash everything thoroughly and sort out bruised or damaged pieces.
Speed matters. The sooner produce goes from harvest or purchase to the freezer, the better the result. If you cannot process everything at once, keep the vegetables cool and work in batches.
Prepare in Uniform Pieces
Cut vegetables into similar-sized pieces so they blanch and freeze evenly. Smaller pieces freeze faster and are more convenient for cooking later. Peel where appropriate, trim stems and ends, and remove cores or seeds as needed.
Step 2: Blanch Most Vegetables
Blanching means briefly boiling or steaming vegetables, then plunging them into ice water to stop the cooking. It is the single most important step for most vegetables because it deactivates enzymes that would otherwise cause loss of color, flavor, and texture during frozen storage.
How to Blanch
- Bring a large pot of water to a rolling boil. Use plenty of water so it returns to a boil quickly after adding vegetables.
- Fill a large bowl with ice and cold water and keep it nearby.
- Add the vegetables to the boiling water in small batches so the water keeps boiling.
- Boil for the recommended time (see the table below), starting the timer when the water returns to a boil.
- Transfer immediately to the ice water bath and chill for about the same amount of time as the blanching, or until completely cool.
- Drain thoroughly and pat dry before packing.
Steam blanching is an alternative that preserves more water-soluble nutrients. Use a pot with a steamer basket and lid, and add roughly a minute to the times below.
Approximate Blanching Times
| Vegetable | Preparation | Blanch time (boiling water) |
|---|---|---|
| Asparagus | Trim, cut into spears or pieces | 2–4 minutes depending on thickness |
| Broccoli | Cut into florets | 3 minutes |
| Carrots | Sliced or cubed | 2–3 minutes |
| Cauliflower | Cut into florets | 3 minutes |
| Green beans | Trim ends | 3 minutes |
| Peas | Shelled | 1–2 minutes |
| Corn on the cob | Husked, whole or cut | 4–6 minutes |
| Spinach and leafy greens | Washed, stems removed | 2 minutes |
| Zucchini | Sliced | 3 minutes |
| Bell peppers | Seeded and sliced | Not required (see below) |
These are general guidelines. Thicker pieces need more time, and very small pieces need less. When in doubt, slightly under-blanching is better than overcooking, which leaves vegetables waterlogged before they even reach the freezer.
Step 3: Handle the Exceptions
Not every vegetable needs blanching, and a few should be treated differently.
- No blanching needed: Onions, leeks, bell peppers, and most herbs can be chopped and frozen raw. Tomatoes are often frozen whole or as sauce without blanching.
- Raw-pack options: Some cooks skip blanching for vegetables destined for soups and stews, accepting softer texture. This is a matter of preference, but the flavor and color hold up better with blanching.
- Herbs: Freeze chopped herbs in ice cube trays with water or oil, or freeze leaves whole and crumble while still frozen.
- Vegetables that freeze poorly: Cucumbers, lettuce, radishes, and raw celery lose their crispness and become watery. Use them fresh, or cook them before freezing.
Special Cases: Tomatoes, Potatoes, and Corn
Tomatoes can be frozen whole, skin on, and the skins slip off easily after thawing, making them ideal for sauces. Potatoes are best partially cooked first, such as parboiled or roasted, because raw potatoes turn grainy and dark in the freezer. Corn should be blanched on the cob or briefly boiled after cutting from the cob to set its sugars.
Step 4: Dry, Pack, and Remove Air
Excess water on the surface of blanched vegetables turns into ice crystals and freezer burn. Drain well and pat dry with clean towels before packing.
Air is the enemy of frozen food. Oxygen causes oxidation, which leads to off-flavors, discoloration, and the dry, leathery patches known as freezer burn. Choose packaging that seals tightly and remove as much air as possible.
Packaging Options
- Freezer bags: Use bags labeled for freezer use, press out air, and seal. A straw can help draw out the last bit of air before final sealing.
- Rigid containers: Use freezer-safe containers and leave headspace for expansion, generally about half an inch for pints and one inch for quarts.
- Vacuum sealing: Excellent for long storage, though soft vegetables should be frozen first to avoid crushing.
Freeze First, Then Bag
For loose vegetables like peas, corn, and green beans, spread the blanched and dried pieces on a baking sheet and freeze until solid, about an hour. Then transfer to bags or containers. This “tray freezing” keeps pieces separate so you can pour out just what you need instead of thawing a solid block.
Step 5: Label and Store Properly
Every package should carry the vegetable name and the date. A strip of masking tape and a permanent marker works fine. Labels matter more than people expect: after a few months, bags of pale green florets and diced roots start to look alike.
Store frozen vegetables at 0°F (−18°C) or colder, and keep the freezer organized so older packages get used first. A full freezer holds temperature more efficiently than an empty one, but leave a little room for air circulation.
How Long Do Frozen Vegetables Last?
Most blanched vegetables keep well for 8 to 12 months at proper temperatures. Quality gradually declines after that, though the food remains safe if kept frozen. Vegetables with high water content, like zucchini and tomatoes, are best used within 6 to 8 months.
Thawing and Cooking Frozen Vegetables
How you thaw depends on how you plan to use the vegetable.
- For soups, stews, and stir-fries: Add frozen vegetables directly to the hot pan or pot. They cook quickly and release water as they heat.
- For steaming or roasting: Thaw in the refrigerator first and drain well, or roast from frozen at a slightly higher temperature to encourage browning.
- For salads or dips: Thaw in the refrigerator and drain thoroughly; expect a softer texture than fresh.
Avoid thawing vegetables at room temperature for long periods. Refrigerator thawing is the safest approach when time allows.
Common Mistakes to Avoid
- Skipping the ice bath: Residual heat continues cooking vegetables after blanching, leading to mushy results.
- Overcrowding the pot: Too many vegetables at once drop the water temperature and produce uneven blanching.
- Packing wet vegetables: Surface water becomes ice and freezer burn.
- Using thin storage bags: Ordinary sandwich bags are not moisture- or vapor-proof enough for long storage.
- Refreezing thawed vegetables: Once thawed, texture and quality decline sharply. Cook and use them rather than refreezing.
A Simple Workflow for a Big Harvest
When you have a lot of produce to process, a little organization makes the job much easier. Set up a station with a boiling pot, an ice bath, a draining rack, clean towels, and your packaging. Work through one vegetable at a time, blanch in small batches, chill, dry, and pack. Label as you go, and freeze in single layers before consolidating.
Freezing vegetables at home is not complicated, but the details matter. Start with fresh produce, blanch what needs blanching, chill quickly, dry well, squeeze out the air, and keep everything consistently cold. Follow those steps and your freezer becomes a reliable pantry of brightly colored, good-tasting vegetables ready for soups, stir-fries, casseroles, and everyday meals all year round.
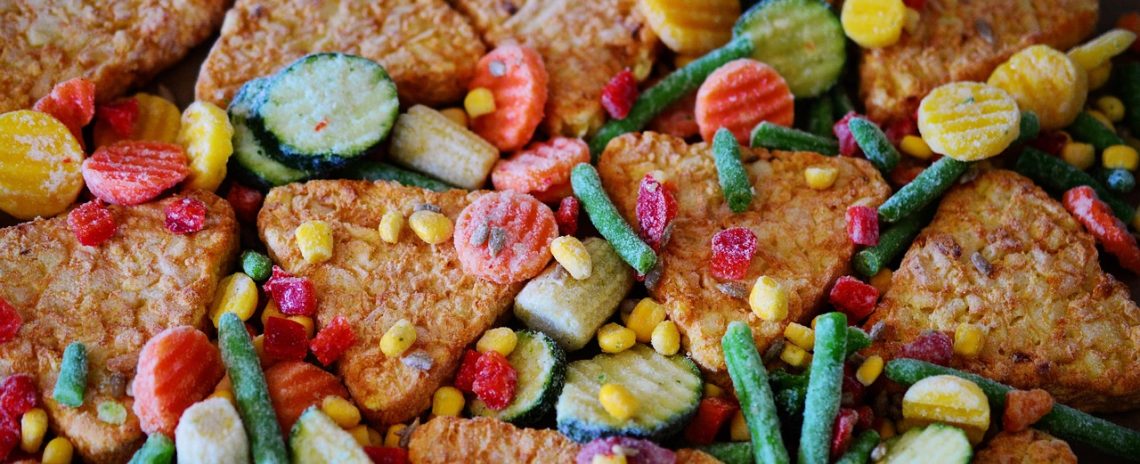
Illustrative stock photo: congerdesign / Pixabay.